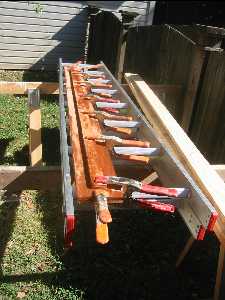
This weekend I got a good bit of small things done regarding portlights and the centerboard trunk. Shown here is the setup for the cap for the centerboard. I used 2 layers of 3/8" ply with a mahogany stiffening strip in the middle. I want this piece to be as stiff as possible. Also it needs to be absolutely straight. The ladder is the only thing I have that is completely straight. When I screw it down I plan to use machine screws that are countersunk in this piece with washers and nuts. The inside will be sealed with silicone for easy removal in the future if I need to perform maintenance.
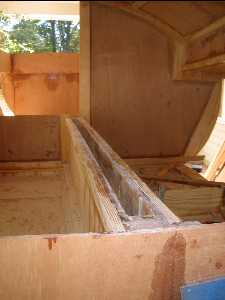
Here is the centerboard trunk. I glued on logs on the outside top edges to accept the machine screws and provide a good holding. This is outside of what the plans specify and may be overkill but I personally don't like installing wood screws in the edge of plywood since I don't have the expectation of them holding up and not inviting rot over the duration. Also since this piece will form part of the berth I really don't ever want water leaking past it.
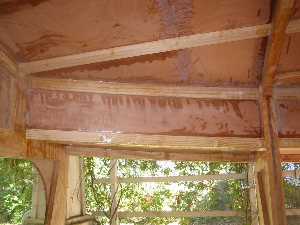
I have decided that I will have five portlights in my boat much like Daniel G and Gizmo have. The more light in the boat the better. These portlights need to go roughly in the center of the segment of the cabin side shown here.
How to mark the porthole? Since the side is sealcoated with epoxy it doesn't take a pen or pencil mark well enough to see when sawing. Thus I prepared a template and use black spray paint to mark it. The plan is to cut away all and only the wood that is painted black.
The porthole is sized as an ellipse that is 5" high and 10" wide and is 7/8" above the deck. The major axis of the ellipse runs parallel to the deck. The ellipse is the standard one you get by evenly stretching a circle on the horizontal axis. I wrote a small program to draw the ellipse in a JPeg file, printed it on a sheet of paper, pasted it on to foam board, and cut the ellipse out. I used the piece of wood to hold both sides of the template against the cabin trunk while spraying.
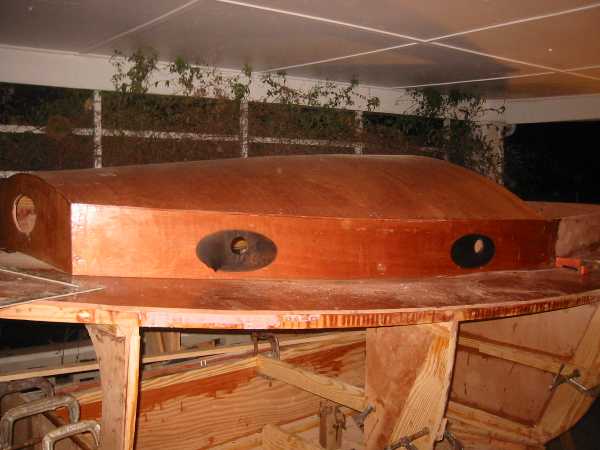
Here the portlights are marked and initial starting circles are drilled. As I look at this I can see that I need to think about raising them slightly to center them vertically. Maybe if I made the ellipses 4 1/2" high that would do the trick. I will have to sand off the extra paint and prepare a new template.