Installing the new portlights
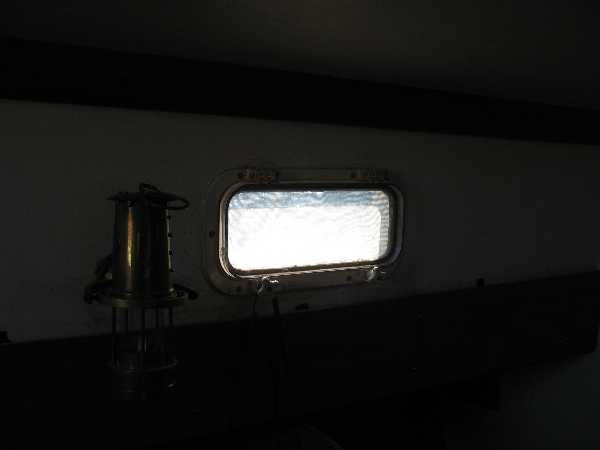
Here's another Beckson about to be removed. Another reason for replacement is that I could hardly see out through them. They all came out easily. I then had to let the plywood edges dry. The portlight opening in the head had a small amount of rot. I used a heat gun to dry it, then I filled it with thickened epoxy.
I cut the hole to fit the new portlight. There were some extra gaps around the corners but not enough to be any problem. I then made sure to edge seal the plywood with epoxy. If anything the extra gaps allowed me to inject more caulk.
I purposely drilled the holes slightly smaller than the fasteners that I used so the threads would bite into the wood.
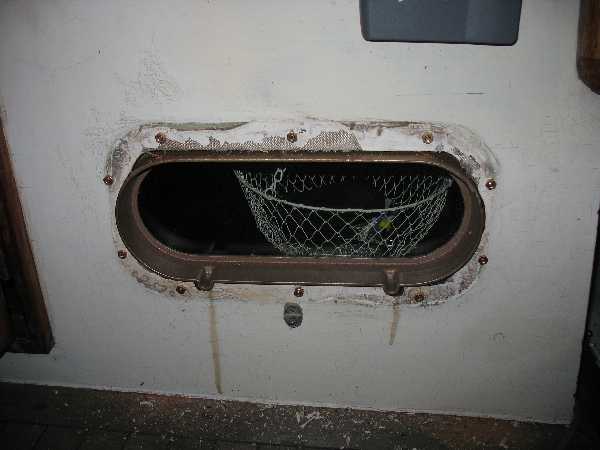
I put bolts on the outside to secure it in place. I then used 3M 101 caulk. I picked teak color to match the bronze. This stuff stays rubbery and adheres to clean surfaces tenaceously but allows removal if necessary. The 10 portlights required a total of 4 tubes of the caulk. I installed the finish ring with 10 wood screws. I did not have to grind down the ends of the fasteners.
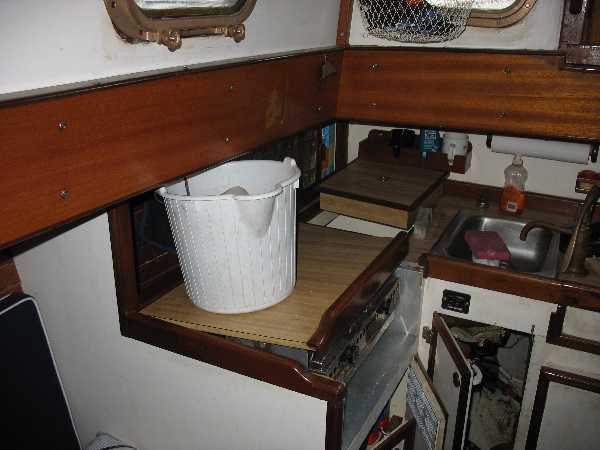
I had a bucket just in case it did leak.
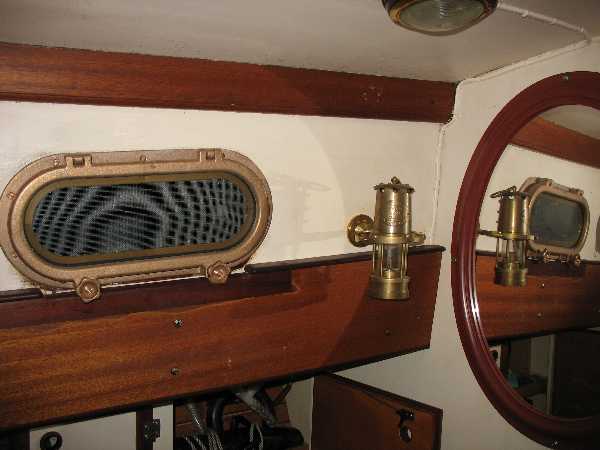
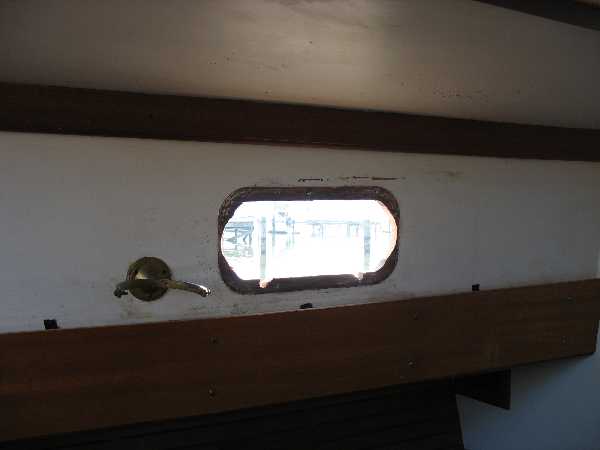
Here is a fixed portlight in the head. The trim seemed to fit pretty good, considering that I didn't make changes to it.

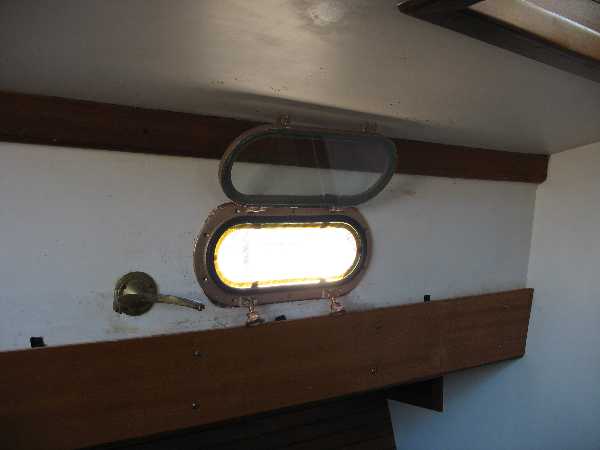
Here is an opening portlight all the way forward. I was pleased with how well it fit the existing trim.
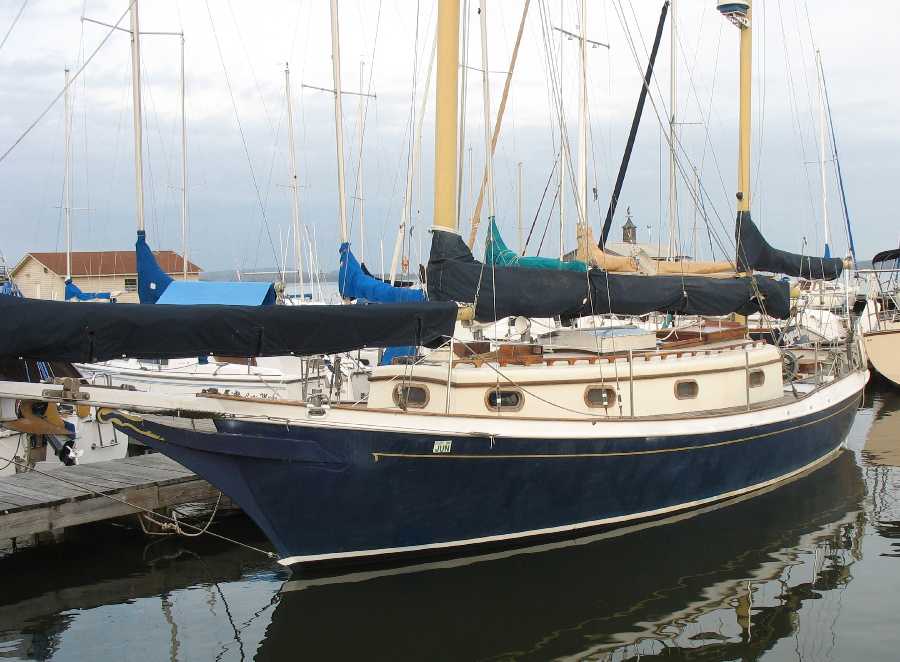
The portlight installation is complete. Subsequent rain checks show no leakage.