This charger using 8 D-Cell batteries was highly effective. The batteries lasted for over a week's worth of charging so I could take pictures without restriction.
11-16-14
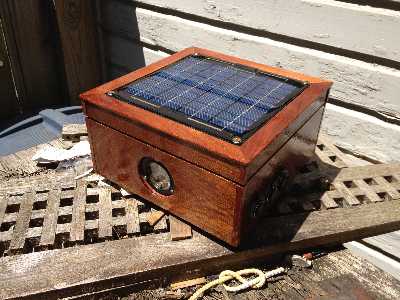
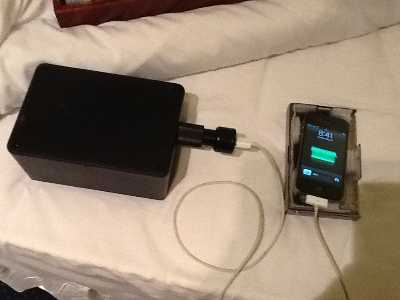
Here is another little solar box that I've built in 2014. It will charge a cell phone or help charge a tablet computer. It will also fit in a backpack for trips. This section talks about how it works and how I developed and built it.
The box consists of a solar panel which charges a lithium ion polymer battery via a charge controller. The battery feeds a small boost converter that feeds a USB port at 500ma. The phone plugs into the USB jack for charging. On the front is an ammeter to monitor the performance of the solar panel.
I like to try to build cool things that work. It's one thing to build something neat. It's another to make it work and be practical. Otherwise, in my view, it's just a 5 minute wonder that takes up space, gathers dust, and has to be dealt with eventually. One thing that I find useful is a small portable solar powered charger. This represents the third attempt to build one that will be quite useful.
The first solar box worked quite well. I used it for a year to charge my cell phone. I even used it on the boat. But it was heavy and inconvenient to lug around. Eventually I stopped using it and put it away. The built in battery self discharged over time and sulfated. The particular charge controller used appeared to allow slow self discharge and required a good bit of light to overcome that.
On the other hand the first box allowed me to understand a few things.
This charger using 8 D-Cell batteries was highly effective. The batteries lasted for over a week's worth of charging so I could take pictures without restriction.
My second attempt to build a practical solar box was a smaller box which also used a 12v lead acid AGM battery. Unlike the first box I put the ammeter in front where it was visible. But it failed to gain traction as a useable device because it was still too heavy and bulky. It would be best for it to sit at home but I don't have a south facing window for it. The project stalled. It currently sits waiting to be repurposed somehow.
This charger using 8 D-Cell batteries was highly effective. The batteries lasted for over a week's worth of charging so I could take pictures without restriction.
On a side note, when I went to Scotland in 2012 I took my iPhone 4S to take pictures with. I quickly realized that the little battery in the iPhone wasn't going to work all day long. I went to a Maplin store in Glasgow which is very similar to a Radio Shack in the States. I paid 30 pounds for 8 D cell batteries, holders, soldering iron, housing, 12 volt socket and wires. I went back to the hotel and put it all together in about an hour. I plugged the phone into the car charger and the car charger into the socket. It worked all week without the need to change the batteries.
All of this lead to the idea for a smaller solar box about the size of the Scotland charger but solar powered. And maybe a little bit lighter.
I spent some time on the Adafruit website. They have a lot of ideas and useful little building blocks for projects. I looked at their Minty Boost USB charger and how it was used to to charge cell phones and iPods. I then looked at their solar Lipoly handbag project. A plan came together.
The USB port. This is the front of the Minty Boost. I built the wood to snugly fit around the actual USB jack and hold the rest of the Minty Boost so that it would stay firmly positioned.
I bought a 2500 mAh lithium polymer battery, 3.4w solar panel, and a Minty Boost. I wired them up as instructed on the Adafruit website and tested it out. I even built a small box to put it in. But without an ammeter and volt meter I was operating blind. I really need to know if I need to put it out in the sun to charge and how well it is charging.
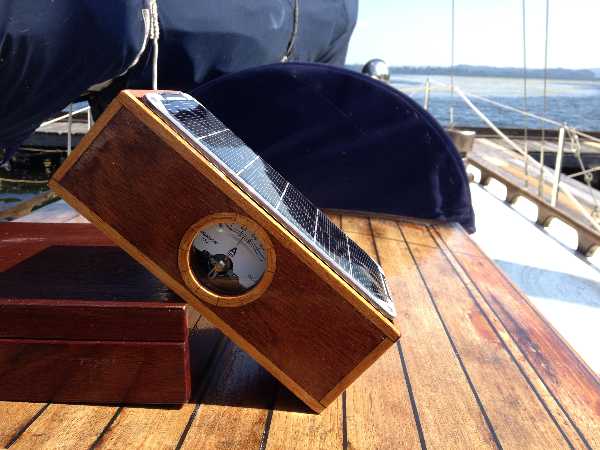
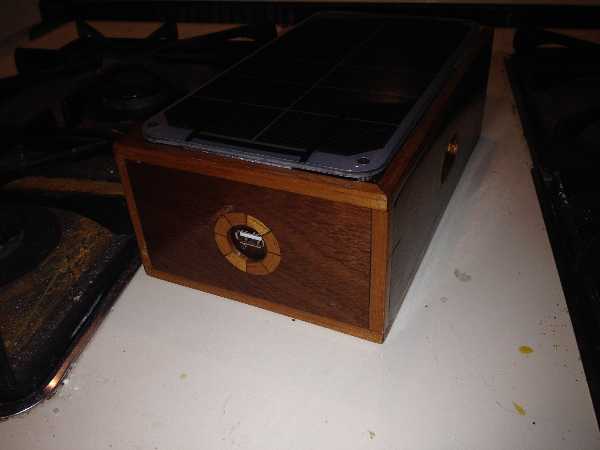
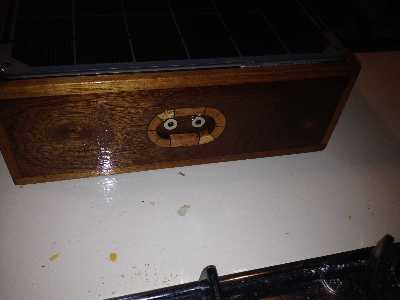
I wanted a nice little wooden box to hold everything. I determined the dimensions of the box from the size of the solar panel and the hight of the ammeter when mounted vertically. I found the rectangular appearance of the ammeter uninspiring. I prefer a sort of vintage or steampunk look. To get to that or at least make it not an eyesore I decided to mount the ammeter behind a small round window with a segmented wooden border. I put the ammeter in the middle. I also added a USB charging jack on the side. This jack is also surrounded by a smaller segmented wooden border.
Over September and early October I did various tests. Basically I determined the following:
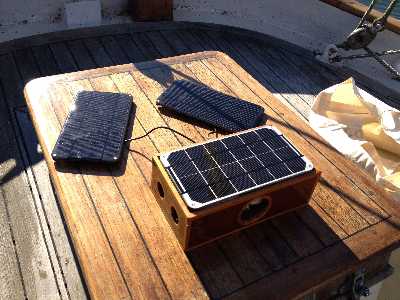
The extra panels plugged in for increased charging
I beefed up the box by doing the following:
During some initial testing on the boat the box charged at around 800ma with both extra panels plugged in. Some later testing in a car showed problems presumably because of the heat buildup. The car is not the best place to leave this.
There are a few things to note:
Here is the list of parts I used an why. Most of these came from Adafruit.
The two external panels plug into these solar power jacks.
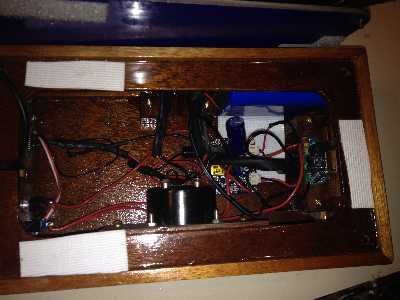
The insides are not the neatest wiring at this point.
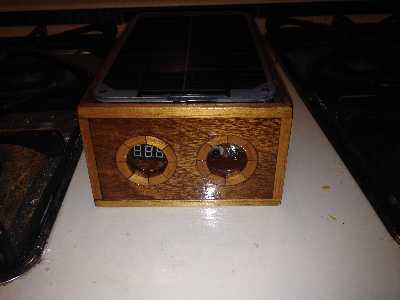
On the left is a volt meter to measure battery state. On the right is a push button switch to display the voltage. In the same hole is the switch to shut off the Minty Boost
The Adafruit site has detailed discussions on how these parts operate and how to assemble them. In summary the steps are as follows.
Testing of the box shows the following: