Cockpit Cocktail Table

11-15-14

In 2012 I was on a raft-up with other cruisers. During dinner I noticed that other boats had cockpit tables. I got to thinking how nice it would be for us to have one. As usual I wanted to come up with the best possible design that I could. I thought about it for a while and finally came up with a good design that will work and be useful. In mid 2013 I started construction.

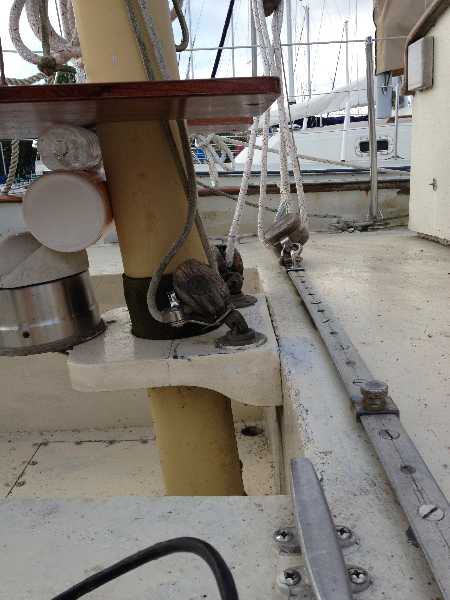
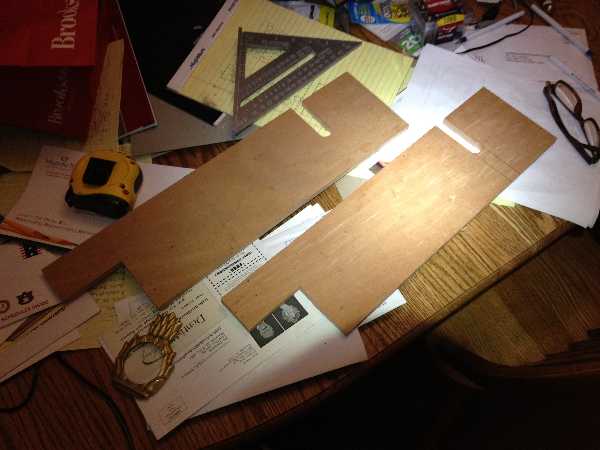
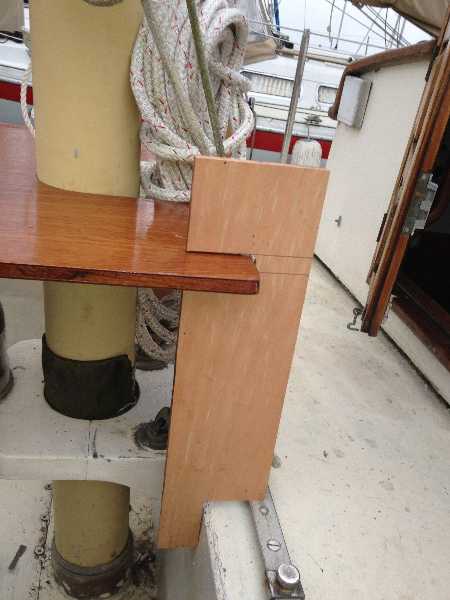
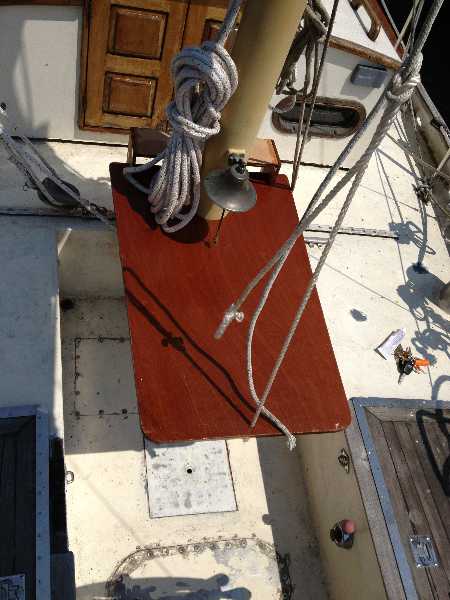
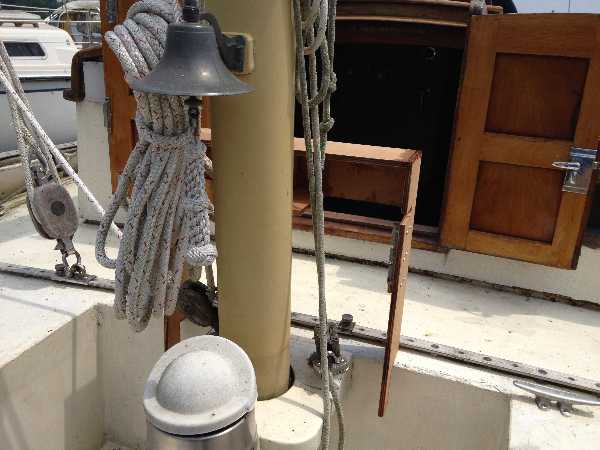
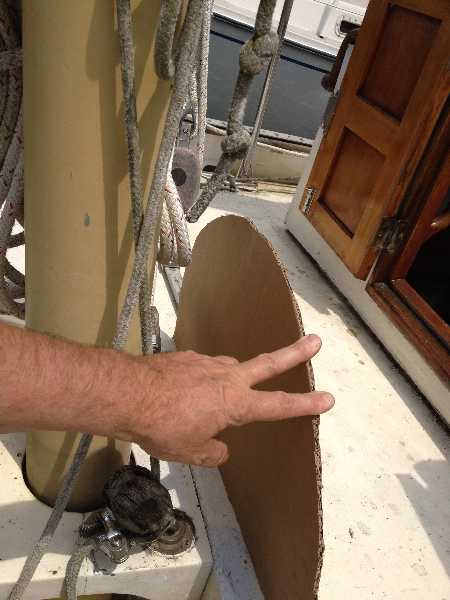
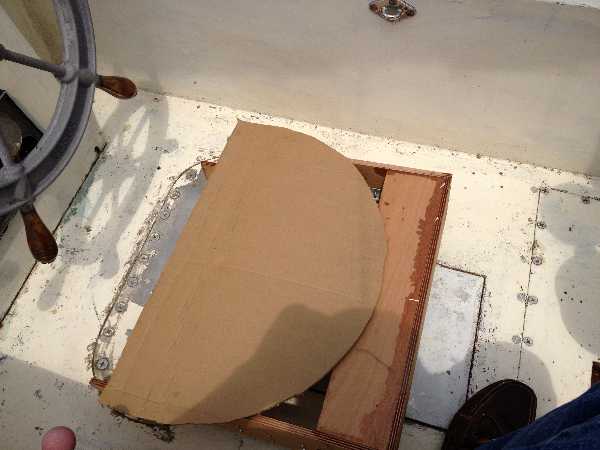
I took a pattern in cardboard and mocked up the table to see how big I wanted it to be. I then mocked it up in cheap thin plywood to refine the size and shape. I also considered how it would be mounted and supported. It had to be big enough for two people or four in a pinch. Next it had to be stiff and strong but light and easy to carry. Also it had to be supported such that people to easily get up and out from sitting at it.

The following pictures show the construction of the basic table.


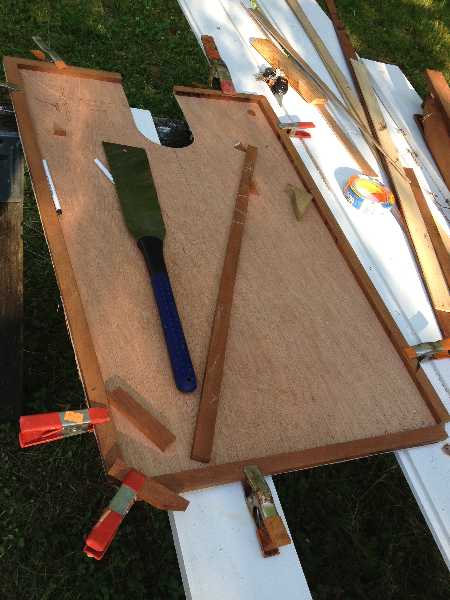
I started with a sheet of sapele and added a border of mahogany.

I added interior framework to stiffen it.

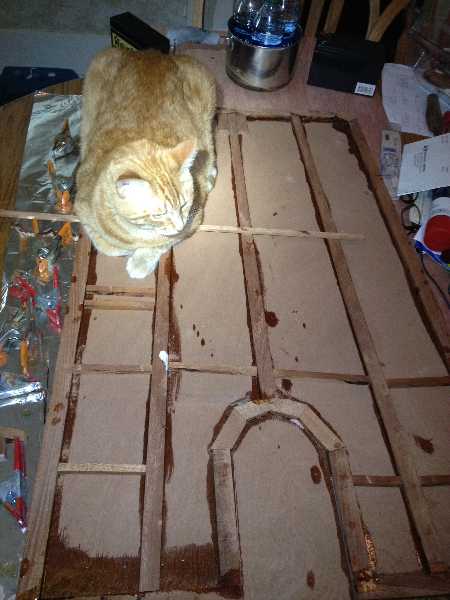
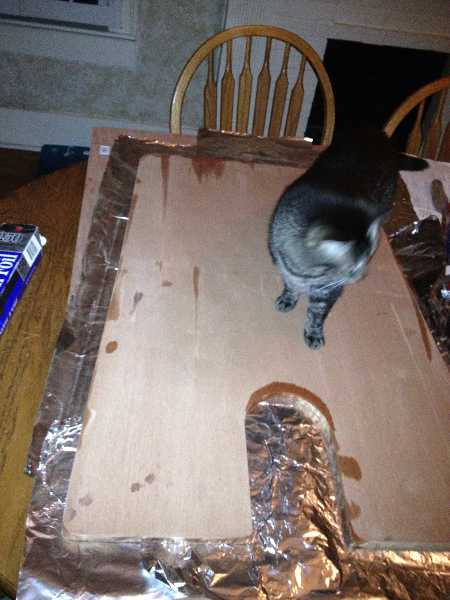
Neptune inspects the installed logitudinal framework pieces.

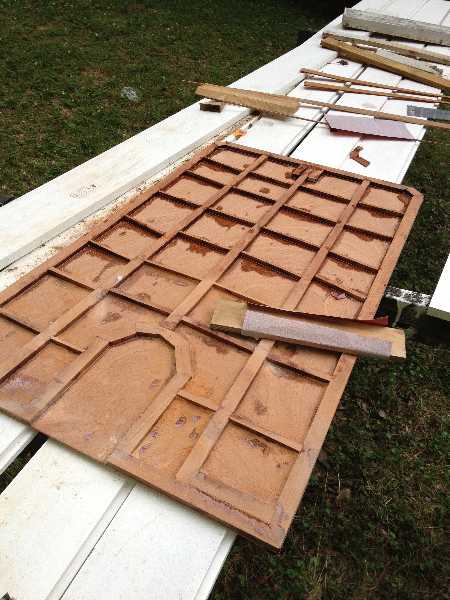
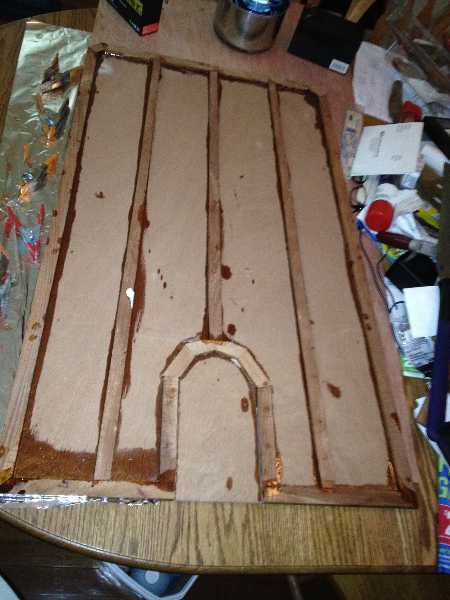
All cross pieces are installed. I use a sanding block to remove the glue burrs and make it flat.

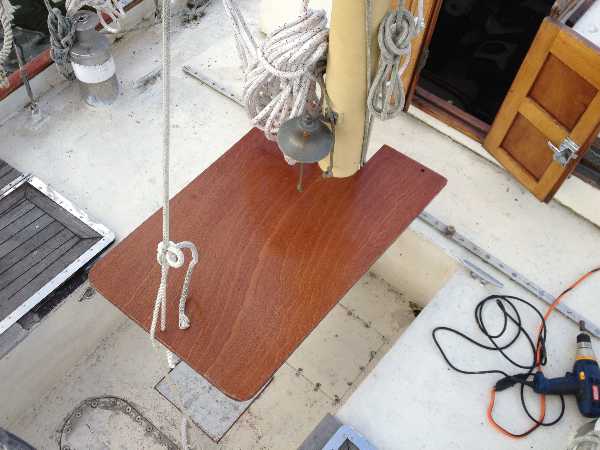
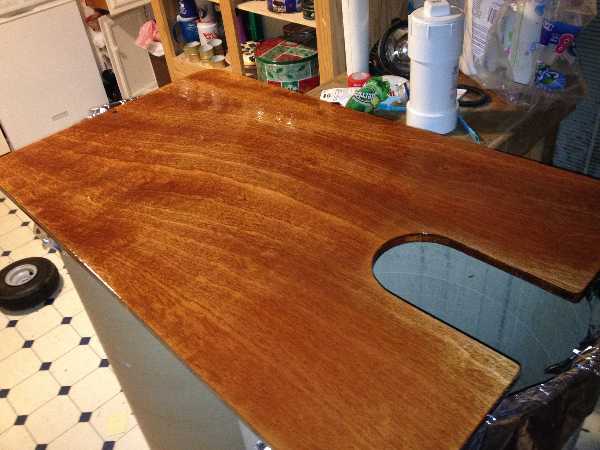
The second side glued on. I used books and other weights to apply pressure over the whole area of the table to insure a good glue joint thoughout. Here I marked off the cutout for the mizzen mast.

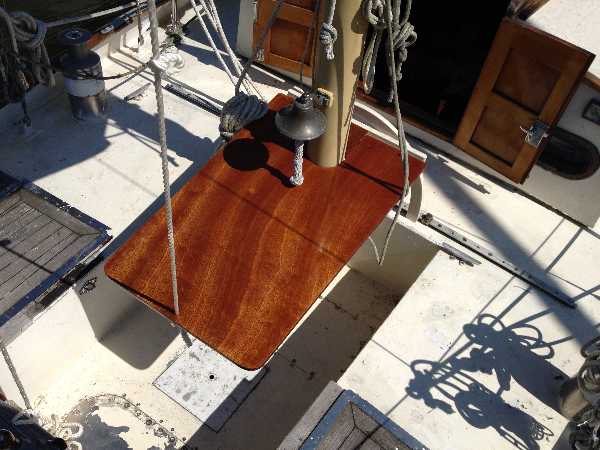
I cut the slot for the mizzen mast and used epoxy to seal the edges. Tansy inspects it.

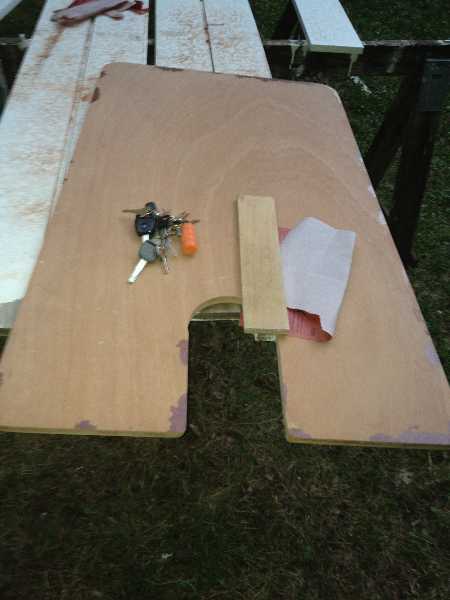
The table gets a good sanding.

Next I had to have a way to support the table. As stated above it had to be easy to get up from the table without kicking it or crawling out like one does in a tatami room.

The first idea was to have the table suspended from the mizzen boom in the rear and from the gooseneck forward. I tried this out in June 2013 but it tended to slide and swing around. It would bang into things and get scratched up.

So I needed to create a rigid attachment. The next pages detail the building of the first rigid attachment.


The end of the table hangs from the mizzen booms.

It fits around the mizzen mast.

End support pieces.

Latches hold the table in place.

I test fitted the support pieces.

The table supported by the finished support frame.

The square support frame in all its ugliness.

After building this support frame I lost all enthusiasm for it. It works well but it's too boxy and bulky and sort of an eyesore. Its sharp corners create stress points and weaknesses. It seems easy to accidentally kick it and break it. Between this and the small roud teak fold up table that I bought at a marine chandlery the project almost stalled.

So I needed a different solution to get things back on track. It had to be something round and light weight. In mid 2014 I came up with a new design that doesn't have the hard corners of the original.


The cardboard template for the new arch design.

The arch compared against the square support frame.

The arch frame laminated from strips epoxied together.

The finished arch frame.

I test fitted the arch frame to evaluate where to put the cross piece. Also notice that I sanded the table. Originally I varnished it with Cetol Gloss. Cetol Gloss works well for boat trim. With constant exposure to the sun the Cetol hardens to a tough finish. But on small objects that stay inside most of the time the Cetol never really hardens. The alternative that I found to work well on this is Epiphanes. I have started using Epiphanes and getting to know it. If I start with it thinned down a bit it produces a nice mirror like finish in a couple of coats.

I redid the varnish using Epiphanes.

I put a straight piece across the top of the arch to connect the table. It is narrow so doesn't really stick out visually. It has a cross section like the letter "L". It has dowels to accept the holes. After a trial fit I had to reposition the dowels slightly. Then a second test fit worked nicely. The weight of the table holds it to the dowels. I retained the mizzen support line.

I like this design much better. The shape of it doesn't dominate the space and its rounded shape keeps it less intrusive. The arch calls itself out in a way that fits in better. This table is a keeper.


The finished project.